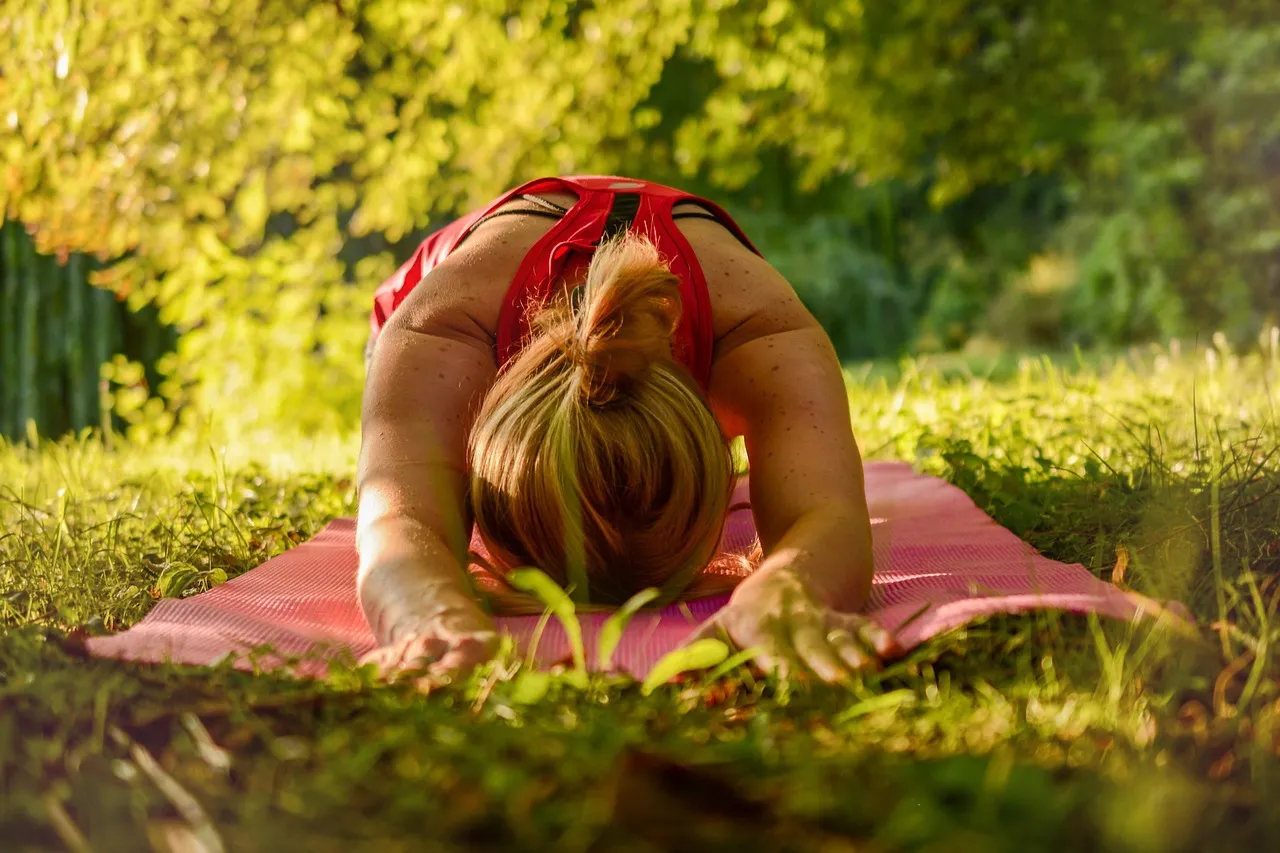
Quick Yoga Nidra Meditation Guide: Step-by-Step Practice
Yoga Nidra, often called "yogic sleep," is a guided meditation practice that systematically guides your mind and body toward deep relaxation. Unlike many meditation practices, it requires no sitting, no contorted postures, and no years of practice to feel the effects—most people notice a shift in their nervous system within the first session. If you struggle with racing thoughts, tense shoulders, or simply want a reliable way to reset after a demanding day, this guide will walk you through a complete practice you can do tonight.
Understanding Yoga Nidra
Yoga Nidra sits in an interesting space between meditation and sleep. You remain aware throughout, but your body enters a profound rest state—one that research suggests can be as restorative as several hours of sleep. The practice works by systematically moving your attention through different parts of your body and different layers of awareness, essentially training your mind to step back from stress while you stay conscious.
This isn't spiritual bypassing or escapism. It's a straightforward nervous system reset that works even if you're skeptical. The technique is structured, repeatable, and grounded in how attention and relaxation actually work in your brain.
What You'll Need
- A flat surface: Your back on the floor, a yoga mat, or a carpeted space. A bed works if that's what you have, though a firmer surface often feels better.
- Support props: A pillow under your head and another under your knees makes a real difference. You want your spine neutral, not strained. If your lower back feels vulnerable, place the pillow higher under your knees.
- A blanket: Your body temperature drops as you relax. Have a blanket nearby—you'll likely want it within the first ten minutes.
- 15–30 minutes: Start with 15 minutes and extend as you grow comfortable. Even 15 minutes produces noticeable effects.
- A timer or recording: Set an alarm to gently wake you at the end. Some people use a guided audio recording (there are many free ones online) to follow along, though the instructions below work self-guided.
- Minimal distractions: Silence is ideal, but if you live in a busy space, low ambient sound (like a fan or rain sounds) is fine.
The Practice: Step-by-Step Guidance
Setup and Initial Settling (Steps 1–2)
Step 1: Lie down and position yourself. Lie on your back with your feet about hip-width apart, arms at your sides with palms facing up. Legs should be relaxed and slightly turned out. Your neck should feel neutral—adjust your pillow so your gaze, if your eyes were open, would be upward at about a 45-degree angle. Spend a moment making small adjustments until nothing feels strained.
Step 2: Set your intention. Before closing your eyes, mentally note a simple intention for this practice. It might be "I'm here to rest," "I'm releasing tension," or simply "peace." This isn't magical; it's a signal to your mind about what this time is for. After setting your intention, allow your eyes to close naturally.
The Body Scan: Anchoring Awareness (Steps 3–5)
Step 3: Begin with your right side. Bring your awareness to your right toes. Don't try to relax them—just notice them. There's nothing to fix. Now move your attention slowly up your right foot, your ankle, your calf, the back of your knee, your thigh, your hip. Move deliberately but without strain. The pace should feel unhurried, like you're genuinely touching each area with your mind. Spend about 30–40 seconds on your entire right leg.
Step 4: Mirror with your left side. Repeat the same journey down your left leg—left toes, foot, ankle, calf, knee, thigh, hip. Use the same tempo. You're not forcing anything; you're simply placing attention.
Step 5: Move through your torso. Now bring attention to your lower back, the small of your spine, your sitting bones against the floor. Move up your mid-back, your shoulder blades. Spend a moment on your chest—notice your heartbeat if it's present, notice your breath. Move across your shoulders, down your arms (right arm, then left, in detail), through your fingers. Include your hands as places of awareness, not just passing through.
The Breath and Deeper Settling (Steps 6–7)
Step 6: Observe your natural breathing. For the next minute or two, simply watch your breath without changing it. Notice where you feel it—your nostrils, your chest, your belly. You're not breathing differently; you're just observing. This step naturally deepens your relaxation because focused attention on breathing slows your nervous system down.
Step 7: Introduce a simple breath count (optional). If it feels natural, count your breaths: "inhale, one... exhale, one... inhale, two... exhale, two..." up to five or ten, then restart. This gives your mind a gentle anchor, preventing thoughts from hijacking your attention. If this feels like work, skip it and simply stay with observing your breath.
Mental Settling and Deepening (Steps 8–10)
Step 8: Notice the space inside your head. This sounds abstract, but it's a real shift in attention. Instead of focusing on your body, turn your awareness inward to the space behind your eyes, the space inside your skull. You might visualize darkness, or a color, or nothing specific. If thoughts appear—and they will—you simply notice them the way you'd notice clouds passing across the sky, then return attention to that inner space. Spend 2–3 minutes here.
Step 9: Expand your awareness to your whole body at once. Shift from detailed attention to a bird's-eye view. Feel your entire body as a unified sensation—your whole self lying there, cradled by the earth beneath you. You're not scanning anymore; you're holding the whole picture in awareness at once. This shift is often where deep relaxation happens.
Step 10: Return to your intention. Mentally revisit the intention you set at the beginning. Let it sit without effort. You're not trying to achieve anything; you're simply holding that intention in awareness as you rest.
The Final Phase (Steps 11–12)
Step 11: Remain in stillness. This is the heart of the practice—the place where your body fully relaxes while your mind stays aware. For the remaining time in your session, simply rest here. Your alarm will let you know when to transition. If you fall asleep, that's fine; you'll wake when the timer goes off or when your sleep naturally ends.
Step 12: Transition back slowly. When your timer sounds, don't jump up. Wiggle your fingers and toes gently. Take a few deeper breaths. Open your eyes and spend a moment looking at the ceiling before rolling to one side and pressing yourself up to sitting. Sit for a few breaths before standing. This transition prevents dizziness and helps you carry the calm forward into your day.
Common Challenges and How to Work with Them
Racing thoughts. Your mind will wander—that's not failure. When you notice you've drifted into thinking about your to-do list or a conversation, simply acknowledge it and return your attention to your body or breath. There's no penalty for losing focus. Each return is the actual practice.
Discomfort or an itch. If something itches or feels uncomfortable, you can adjust your position. Yoga Nidra isn't about suffering through discomfort; it's about noticing and releasing it. However, often an itch will fade on its own if you simply observe it for a moment rather than immediately scratching.
Falling asleep. Some people worry they're "doing it wrong" if they lose consciousness. Sleep during Yoga Nidra isn't a failure—it means your body needed it. If you find yourself always falling asleep, try practicing at a different time of day when you're not exhausted, or sit up slightly rather than lying completely flat.
Feeling nothing. Not everyone has a dramatic experience in their first session. The benefits of Yoga Nidra often accumulate with practice. Try it a few times before deciding it's not for you. Many people report that effects become more obvious after their third or fourth session.
What Research Suggests
Studies indicate that Yoga Nidra activates the parasympathetic nervous system—your body's "rest and digest" mode—while keeping your conscious awareness intact. This is different from deep sleep, where consciousness fades. People who practice regularly report lower anxiety, better sleep quality at night, and reduced chronic pain. The practice has been studied in populations ranging from trauma survivors to athletes to people managing chronic illness, with measurable reductions in stress markers.
None of this requires you to believe anything metaphysical. Yoga Nidra works as a practical tool for nervous system regulation, much like exercise or controlled breathing.
Frequently Asked Questions
How often should I practice Yoga Nidra?
Even once or twice a week produces noticeable benefits. Many people practice daily, usually in the evening as a way to wind down. Some practitioners use it once a week as a deeper reset. Start with whatever frequency feels sustainable, and you can adjust from there.
Can I do Yoga Nidra if I have insomnia?
Yes, though the goal is different. Rather than using it to fall asleep, use it as a practice in noticing and releasing tension. Often, regular practice during the day or evening improves sleep quality at night. The deep relaxation trains your nervous system to shift gears, which helps nighttime sleep.
Is Yoga Nidra the same as meditation?
It's related but different. In many meditation practices, you work with your mind directly—observing thoughts, cultivating focus, or pursuing specific mental states. Yoga Nidra uses systematic attention to the body and breath to create a context where the mind naturally settles. It's less about effortful mental work and more about body-based relaxation.
What if I can't stay still for 15 minutes?
Start with five or ten minutes instead. There's no minimum requirement to benefit from the practice. Even a short session activates your parasympathetic nervous system. As you become familiar with the experience, you can gradually extend the time.
Do I need any special training to teach Yoga Nidra to others?
If you're practicing for yourself, no training is needed. If you want to teach it formally in a studio or class setting, many traditions offer certification programs. For now, practicing yourself and sharing the basics with a friend is perfectly fine.
Stay Inspired
Get a daily dose of positivity delivered to your inbox.